What Is the Process of Roof Replacement?

The roof replacement process Florida homeowners face usually wraps up within 1 to 3 days. It follows a clear plan—starting with inspection and permitting, then moving through material delivery and installation, followed by a thorough cleanup. Smart planning, favorable weather conditions, and full compliance with Florida building codes all help keep the project smooth and safe.
Key Takeaways
- Residential roof replacements in Florida often finish in 1 to 3 days. Larger commercial jobs can extend beyond a week.
- The process starts with preparing the site and delivering materials. Crews then remove the existing roof, inspect the deck, and make any needed repairs.
- Florida law requires licensed contractors to obtain permits and follow strict building codes. This includes using fastening systems rated for hurricanes.
- Pick a roofing material—like shingles, metal, or tile—based on Florida’s weather, local building codes, and your property’s location.
- The project ends with final inspections, thorough cleanup, and delivery of warranty paperwork. Regular upkeep helps protect your roofing investment over time.
Understanding What Happens During a Roof Replacement: What to Expect Day-by-Day
The roof replacement process in Florida typically moves quickly—weather permitting—and follows a straightforward series of steps. For most residential roofs, the entire process takes between 1 to 3 days. Larger or more complex commercial projects may extend over a week.
Here’s how it generally unfolds:
Day-by-Day Roof Replacement Breakdown
From the moment the crew arrives to the final sweep-up, here’s what to expect:
- Site prep and material delivery: The team prepares your yard or building grounds by setting up tarps to protect landscaping and surfaces. Materials—shingles, underlayment, flashing—usually arrive one day prior or early morning on Day 1.
- Old roof removal (tear-off): Crews strip off old shingles, tiles, or metal panels. This tear-off exposes the roof deck and gives contractors the first look at what’s underneath.
- Roof deck inspection and repairs: Any damaged plywood or framing gets repaired or replaced. This step ensures the new roof has a solid foundation.
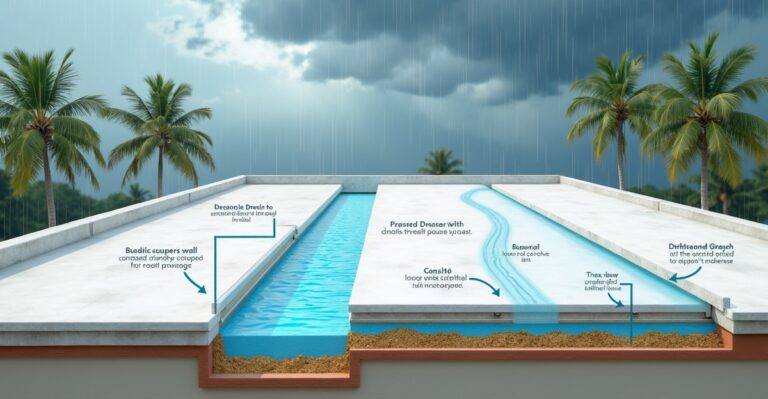
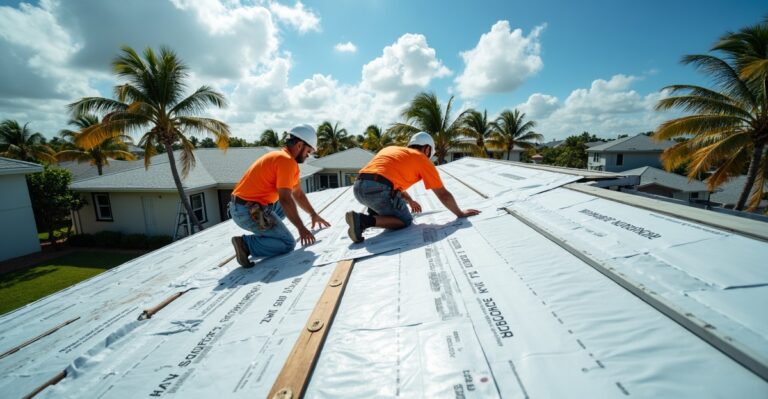
- Underlayment and flashing installation: Synthetic underlayment provides waterproofing beneath your roof surface. Flashing is added around edges, chimneys, and valleys to protect against water intrusion.
- New roofing material installation: This is where things start to look finished. Crews install your selected roofing: asphalt shingles, metal panels, or concrete tile, with attention to local Florida fastening codes for wind resistance.
- Site cleaning and final walkthrough: After installation, crews clean the area, remove waste and leftover materials, and then do a final quality check with you. Nails are magnet-swept from your yard or drive.
Summer rains can delay progress, making Florida weather a key factor in scheduling. Learn more about timing your roof project by reading about the best time to replace a roof in Florida.
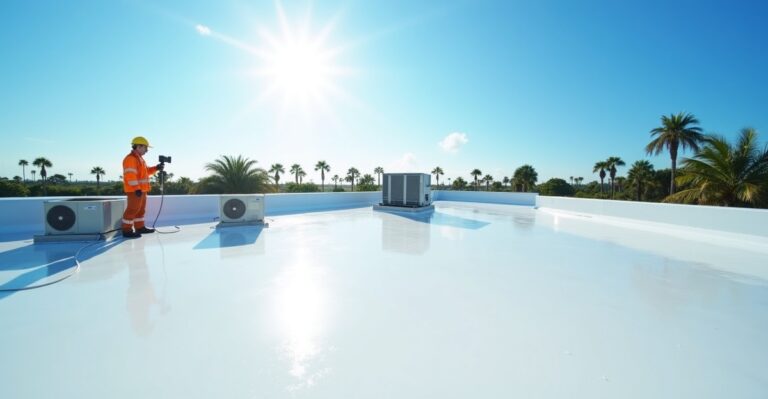
Before the Work Begins: Inspections, Permits, and Planning in Florida
Smart roof replacement starts with in-depth planning. That begins with a professional roof inspection to look for the signs you need a new roof. Common indicators include worn-out shingles, leaks, soft spots, storm damage, or a roof that’s near the end of its lifespan—often around 15 to 20 years for shingle roofs in Florida.
Once a replacement is recommended, contractors develop your estimate based on:
- Roof size (square footage)
- Slope and angles
- Choice of materials
- Accessibility for crews and equipment
- Labor and disposal costs
Reliable contractors will detail everything in writing. Here’s a clear guide on what should be included in a roofing estimate.
Permitting is non-negotiable. Florida law requires roofing contractors to secure permits, and each municipality may have slightly different specifications. These adhere to Florida Building Code, including wind uplift protections and fastening patterns to meet hurricane standards in applicable zones. Reputable roofing professionals will also have active licenses you can verify through the Florida Department of Business & Professional Regulation.
Make sure anyone you hire checks out on your roofing contractor checklist for Florida. It’s your first step toward a safe, code-compliant roof.
Choosing the Right Roofing Materials for Florida Weather
Florida’s heat, storms, and salt air demand roofing that performs under pressure. Here’s how the most popular materials stack up:
Roofing Material Options for Florida Homes and Businesses
Each type offers pros and cons depending on location, budget, and long-term needs:
- Asphalt shingles: Affordable and easy to install. Ideal for inland residential homes. Rated for winds up to 130 mph with proper installation.
- Metal roofing: Excellent for near-coast properties. Resists salt corrosion and stands up to hurricanes. Reflects solar heat, reducing cooling costs.
- Concrete or clay tile: Popular in hot climates and high-end homes. Tile is heavy and durable but requires extra structural support and has a higher upfront cost.
All roofing must comply with evolving Florida roofing codes, especially in storm-prone regions. These dictate how materials are fastened and installed, reducing risk during high-wind events.
Material decisions should align with both function and design—residential roofs might aim for curb appeal, while commercial projects often favor energy efficiency and ease of maintenance.
What Property Owners Need to Do to Prepare
A little preparation makes day-of work smoother for both property owners and roofing crews. Consider this checklist your go-to reference:
Florida Roof Replacement Readiness Checklist
Get your residential or commercial property ready with these easy-to-complete steps:
- Clear driveways or loading zones for material deliveries and dumpsters.
- Move patios, potted plants, or yard décor away from work zones.
- Keep pets indoors to avoid accidents or escapes.
- Inform neighbors (for homes) or adjacent tenants/customers (for businesses) about noise and parking impacts.
- For businesses: Plan for personnel entry/exits, and consider alternate hours if noise will interfere with operations.
We recommend printing a “Roof Replacement Readiness Checklist: Florida Edition” to keep everyone informed. Communication makes all the difference. Keep an open line with your roofer before and during installation, so any concerns or changes can be addressed right away.
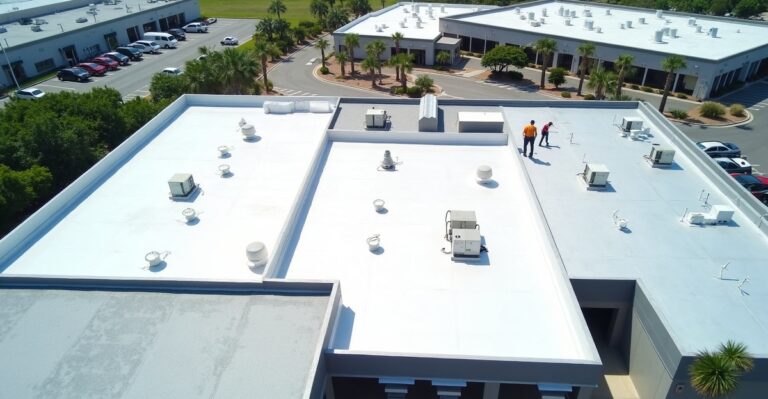
Residential vs. Commercial Roof Replacement: What’s Different?
Though they share similar steps, residential and commercial roofing projects have different priorities, structures, and timelines.
Residential roofs tend to be sloped and less complex. Projects usually wrap up in a couple of days. On the other hand, commercial roofs often feature flat surfaces and multiple layers—requiring more time, permits, and staging.
Safely replacing a roof on a two-story beachside duplex is very different from re-roofing a small shopping plaza. The latter involves access planning, reducing business disruption, and detailed safety measures for staff and customers.
Licensed contractors with commercial experience understand the balance between worksite activity and day-to-day operations. They build customized timelines in phases and communicate each step clearly.
If you’re unsure which category your project falls into, our team is here to help you navigate both the residential and commercial roofing process in Florida.
After the Project: Final Inspections, Warranties, and Routine Maintenance
A finished roof doesn’t mean the work ends there. A strong roofing partner will guide you through final details and stand behind the job long after cleanup.
During the final walkthrough, we inspect the finished work with the property owner. We verify flashing, debris cleanup, ventilation, and that all installations match Florida code.
You’ll also receive documentation of warranties—typically one for materials (offered by the manufacturer) and one for workmanship (offered by us). These cover you against defects and labor issues for years to come.
To make that warranty last, regular care is essential. Here’s what we recommend to extend your roof’s life:
- Clear leaves and debris from gutters and roof valleys
- Inspect after storms for any signs of damage
- Watch for lifted shingles, cracked caulk, or rusted flashing
- Schedule periodic roof checks, especially after major Florida weather events
If you’ve recently had a storm damage roof replacement, stick with trusted professionals who know the local terrain—because post-installation service matters just as much as day one work.
You’ll find expert guidance in our roofing contractor checklist for Florida, which remains useful even after the project is wrapped up. And when it’s time for cleanings, minor fixes, or just peace of mind, we’re only a call away.
To discuss your next roof project or explore recent roof transformations across the region, visit our portfolio of recent projects anytime.